How to Open Flipper Glass on Jeep Grand Cherokee (ZJ, WJ & Newer Models)

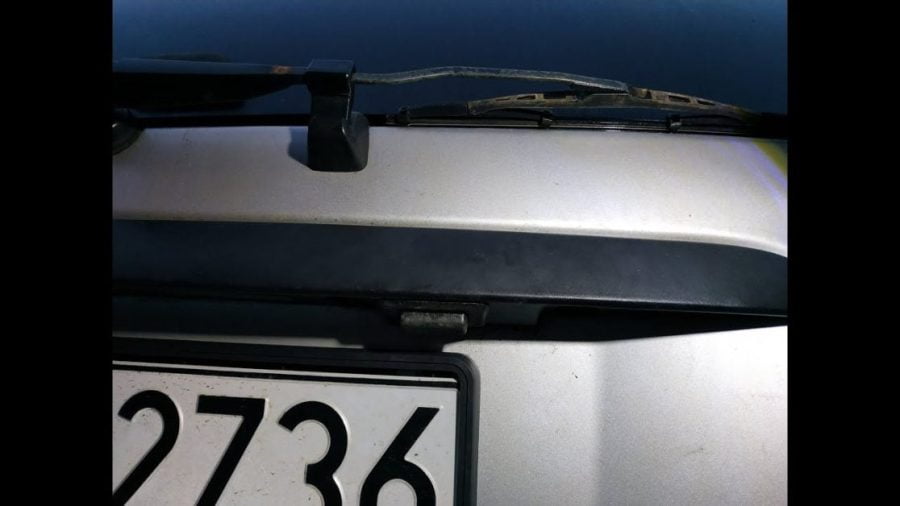
The Jeep Grand Cherokee’s flipper glass system can be incredibly frustrating when it stops working. This rear liftgate window, also known as a lift glass or flip-up window, is designed to open independently from the tailgate itself. When functioning properly, it provides convenient access to your cargo area without opening the entire hatch.
Unfortunately, this electronic system is prone to failures. The microswitch mechanism, button corrosion, and wiring issues plague these vehicles regularly. This comprehensive guide will walk you through every step needed to diagnose and fix your stuck flipper glass.
What Is the Flipper Glass and Common Issues?
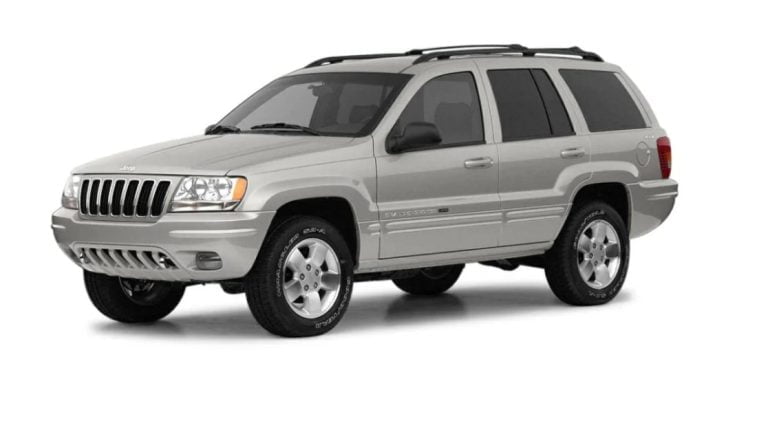
The flipper glass is an electronically controlled rear window that flips upward on hinges. This feature appeared on ZJ models (1993-1998) and continued through WJ (1999-2004) and newer generations. The system relies on a small microswitch, an electronic button, and a wiring harness to function properly.
Symptoms of Failure
Several clear indicators suggest flipper glass problems. The most obvious is a complete failure to open when pressing the button. You might hear clicking sounds without movement. Sometimes the glass opens but won’t stay up, or falls randomly.
Other symptoms include intermittent operation. The glass works sometimes, but not others. Dead key fob activation is another red flag. If your remote previously opened the glass but suddenly stopped working, you likely have electrical issues.
Tools Needed
Gather these essential tools before starting your repair. You’ll need a flathead screwdriver for trim removal. A Phillips head screwdriver handles most fasteners. White lithium grease lubricates moving parts effectively.
Electrical contact cleaner removes corrosion buildup. A multimeter tests switch continuity. Safety glasses protect your eyes from debris. Work gloves prevent cuts from sharp edges.
The repair typically costs under $20 in parts. Microswitch replacements run $5-10. Most repairs involve cleaning rather than replacement.
Statistics from forum discussions suggest roughly 15% of Grand Cherokees with over 100,000 miles experience flipper glass issues. ZJ models (1993-1998) show microswitch failures in approximately 80% of cases. WJ models (1999-2004) more commonly suffer from button corrosion problems.
Safety Precautions Before Starting
Always prioritize safety when working on your vehicle. Park on level ground with the parking brake engaged. Turn off the engine and remove the key completely. Allow the vehicle to cool if recently driven.
Disconnect the negative battery terminal. This prevents electrical shorts during your work. It also resets the system once reconnected. Wear safety glasses throughout the process.
Never force the flipper glass mechanism. Excessive pressure can crack the glass or damage hinges. If something feels stuck, stop and investigate the cause. Forcing components often creates more expensive problems.
Keep children and pets away from your work area. Glass shards or tools can cause injuries. Work in good lighting conditions. Poor visibility leads to mistakes and safety hazards.
Similar to other Jeep maintenance tasks, like taking Wrangler doors off, proper preparation prevents most problems. Take your time and follow each step carefully.
Step 1: Inspect and Test the Lift Glass Button
Start by locating your flipper glass button. On most Grand Cherokees, you’ll find it on the rear liftgate handle. Some models place it inside the cargo area. Clean around the button first using a damp cloth.
Press the button firmly while listening for sounds. A clicking noise suggests the switch is working. No sound often indicates a dead button or wiring issue. Test the key fob function next.
Stand within 10 feet of your vehicle. Press and hold the unlock button on your remote. Many Grand Cherokees will pop the flipper glass after holding the unlock for several seconds. If this works but the button doesn’t, you’ve isolated the problem.
Remove Trim Panel
Access to the button mechanism requires trim panel removal. Look for small plastic clips or screws around the button area. ZJ models typically use push-in clips. WJ and newer models often have small screws.
Carefully pry the trim panel using your flathead screwdriver. Work slowly to avoid breaking clips. These plastic pieces become brittle with age. Replacement clips can be expensive and hard to find.
Once exposed, inspect the button’s wiring harness. Look for loose connections, frayed wires, or corrosion. Green or white buildup indicates corrosion problems. Clean corroded connections with electrical contact cleaner.
Test the button mechanism directly. Use your multimeter to check continuity across the switch terminals. A working button should show continuity when pressed. No continuity suggests button replacement is needed.
Document wire colors and positions before disconnecting anything. Take photos with your phone for reference. This prevents confusion during reassembly.
Step 2: Access and Clean the Microswitch
The microswitch is the heart of your flipper glass system. Located on the glass hinge assembly, this small component detects when the latch releases. Over time, dirt and corrosion cause switch failures.
Remove the rear cargo area side panels to access the hinge area. These panels typically clip or screw in place. ZJ models have simple clip-on panels. WJ models may require removing several screws.
Locate the microswitch on the driver’s side hinge assembly. It’s a small black or gray component with two or three wire terminals. The switch has a small actuator arm that moves when the latch operates.
Clean around the switch thoroughly. Remove dirt, debris, and spider webs that commonly accumulate. These contaminants can jam the actuator arm. Use compressed air to blow out stubborn debris.
Switch Adjustment
Proper switch adjustment is critical for reliable operation. The actuator arm must contact the latch mechanism at precisely the right point. Too early, and the glass won’t latch properly. Too late, and the switch never activates.
Manually operate the latch while watching the microswitch. The actuator should move smoothly without binding. Apply a small amount of white lithium grease to the pivot points.
Test switch continuity using your multimeter. Set it to continuity or ohms mode. Touch one probe to each terminal while operating the actuator manually. You should see continuity change as the actuator moves.
Replacement if Needed
If cleaning doesn’t restore function, replacement becomes necessary. The OdiySurveil microswitch replacement fits most Grand Cherokee applications. Note the wire terminal configuration before removal.
Remove the old switch by unscrewing the mounting bracket. Disconnect the wire harness carefully. Install the new switch in reverse order. Ensure proper wire routing to prevent pinching.
Double-check all connections before proceeding. A loose wire can cause intermittent operation. Secure the wiring harness away from moving parts using zip ties or clips.
This repair process shares similarities with other electrical troubleshooting, like replacing a Jeep starter. Systematic diagnosis prevents unnecessary part replacement.
Step 3: Check Wiring and Fuse
Electrical issues often cause flipper glass failures. The system relies on several fuses, relays, and wire connections. A systematic approach helps identify problems quickly.
Start by checking the relevant fuses. Most Grand Cherokees have the rear glass fuse in the under-hood fuse box. Consult your official Jeep Grand Cherokee service manual for exact locations. Fuse positions vary by model year.
Remove the suspected fuse and inspect it visually. A blown fuse has a broken internal wire. Replace blown fuses with the correct amperage rating. Never use a higher-rated fuse as a temporary fix.
Fuse Locations by Model
ZJ models (1993-1998) typically use fuse position 15 for rear glass operation. The fuse box is located on the driver’s side firewall. Look for a 15-amp fuse labeled “RR GLASS” or similar.
WJ models (1999-2004) moved the fuse to the integrated power module. This box sits on top of the battery. Fuse 21 usually controls rear glass functions. Check for a 20-amp rating.
WK and newer models use body control module integration. Multiple fuses may affect operation. The owner’s manual provides the most accurate fuse diagram. Don’t guess – verify before replacing fuses.
Inspect the wiring harness from the switch to the fuse box. Look for damaged insulation, pinched wires, or loose connections. Pay special attention to areas where wires pass through metal panels. Sharp edges can cut insulation over time.
Check the rear glass relay if your model uses one. Swap it with an identical relay from another system temporarily. If the glass works with the swapped relay, the replacement solves your problem.
Test voltage at the microswitch connector. You should see 12 volts with the key on. No voltage indicates wiring problems upstream. Use your multimeter to trace the circuit systematically.
Step 4: Reassemble and Test
With repairs completed, reassembly reverses your disassembly steps. Start by reconnecting all electrical connections. Ensure wires route properly without pinching or stretching.
Reinstall trim panels carefully. Press clips firmly into place until they click. Tighten screws snugly but don’t overtighten. Plastic threads strip easily.
Reconnect the battery negative terminal. This restores power to all systems. The body control module may need time to initialize. Wait 30 seconds before testing.
Test the flipper glass operation using the button first. Press firmly and listen for the actuator sound. The glass should pop up smoothly without hesitation.
Try the key fob method next. Hold the unlock button for several seconds. Many Grand Cherokees require a specific timing sequence. Consult your owner’s manual for the exact procedure.
Cycle the glass several times to verify consistent operation. Open and close it at least five times. Any hesitation or binding suggests incomplete repairs.
Check the latch mechanism alignment. The glass should sit flush when closed. Gaps around the edges indicate adjustment needs. Proper sealing prevents water leaks and wind noise.
Pro Tips, Troubleshooting, and When to Call a Pro
Regular maintenance prevents most flipper glass problems. Clean the hinges and lubricate moving parts annually. Use white lithium grease on all pivot points. Avoid petroleum-based lubricants that attract dirt.
Inspect the rubber seals around the glass regularly. Cracked or hardened seals allow water infiltration. Water causes electrical corrosion and switch failures. Replace damaged seals promptly.
If you’ve installed modifications like lift kits, verify they don’t interfere with liftgate operation. Some lift kits affect spare tire clearance and liftgate geometry.
Consider preventive maintenance similar to regular tasks like changing your oil filter. Small investments in maintenance prevent major repairs later.
When basic repairs don’t solve the problem, deeper issues may exist. Body control module failures require professional diagnosis. These computers control multiple vehicle systems and need special scan tools.
Wiring harness problems inside door jambs or pillars often need professional repair. These areas require interior panel removal and specialized knowledge. Attempting these repairs without experience can cause expensive damage.
If your Grand Cherokee has aftermarket alarms or remote start systems, interaction problems can occur. Professional installers understand these integration challenges. DIY repairs might void aftermarket warranties.
FAQ
Why won’t my ZJ flipper glass open even after cleaning the microswitch?
Check the fuse and wiring harness next. ZJ models are notorious for corroded connections in the rear hatch area. Water infiltration through worn seals causes this corrosion. Clean all connections with electrical contact cleaner and apply dielectric grease.
Can I manually open the flipper glass in an emergency?
Yes, but use extreme caution. Remove the interior trim panel to access the latch mechanism. Look for a manual release lever near the microswitch. Pull gently to release the latch. Never force the glass – it can shatter.
How do I know if my microswitch is normally open or normally closed?
Test with a multimeter while the actuator is relaxed. Normally open switches show no continuity at rest. Normally closed switches show continuity at rest. Most Grand Cherokee applications use normally open switches, but verify before ordering replacements.
Why does my flipper glass work sometimes but not others?
Intermittent operation usually indicates loose connections or partial switch failure. Temperature changes can affect marginal connections. Check all wire terminals for tightness. Clean corroded connections thoroughly.
Is it safe to drive with a non-functioning flipper glass?
Yes, it’s safe to drive, but ensure the glass is fully closed and latched. An unlatched glass can pop open while driving, creating dangerous distractions. If you can’t get it to latch properly, secure it with tape temporarily until repairs are completed.
Final Thoughts
The flipper glass system adds convenience to your Grand Cherokee when working properly. Following these diagnostic and repair steps should restore reliable operation. Remember that patience and systematic troubleshooting yield better results than rushing through repairs. Take photos during disassembly and don’t hesitate to consult the JeepForum ZJ liftgate discussion for additional tips from experienced owners.
For visual learners, you can watch ZJ rear hatch fix video demonstrations that complement these written instructions. The combination of written steps and video guidance provides the most complete repair resource.