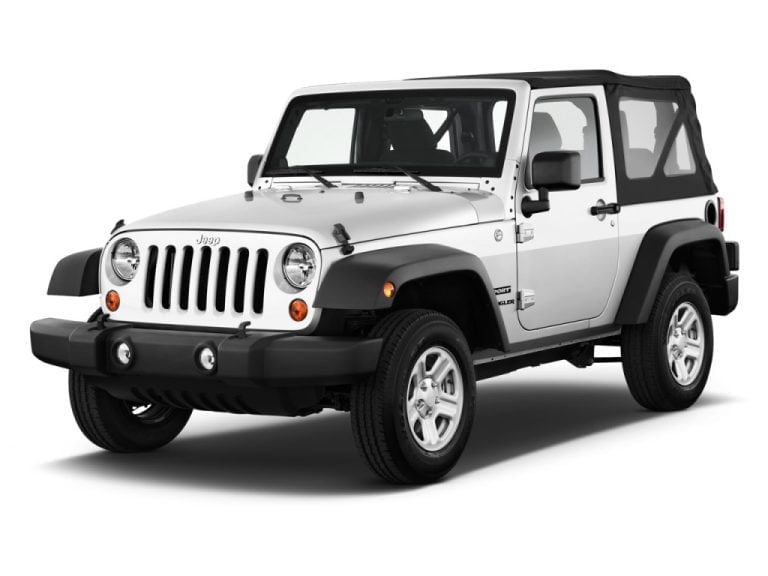
How to Replace Front Axle U-Joints on a Jeep Wrangler (JK, JL, YJ Guide)

Replacing a worn U-joint on your Jeep Wrangler costs $40–$80 in parts if you do it yourself — versus $300–$600 at a shop. This guide walks you through every step for front axle U-joints (axle shaft U-joints) and front driveshaft U-joints, with JK-specific notes where the process gets more involved. You’ll save real money and gain confidence tackling future drivetrain work.
Signs Your Jeep Wrangler U-Joints Are Worn Out
Worn U-joints give clear warnings. Don’t ignore them.
The most common symptom is a clicking or clunking noise from the front end during acceleration or tight turns. You might also feel vibration at highway speeds — typically 55–65 mph — that gets worse as the joint deteriorates further. Check the official maintenance schedule for recommended inspection intervals, particularly if you’re running off-road trails regularly.
Grease leakage around the axle yoke or visible rust and dried dirt buildup around the joint cap area are physical red flags. A failed U-joint can cause axle shaft separation or driveshaft whipping — both serious safety risks. Inspect U-joints every 12,000–15,000 miles, or annually for hard off-road use. Heavy towing also accelerates wear — see our Jeep Wrangler Towing Capacity guide to understand how loads stress the drivetrain.
Driveshaft vs. Axle U-Joint Symptoms
Axle U-joint failure causes clicking primarily during turning. Driveshaft U-joint failure produces vibration felt through the floor and seats at speed, often without any turning component. Knowing which joint is failing tells you exactly where to start.
Tools and Safety Equipment Needed
Getting the right tools before you start saves two trips to the parts store.
Essential tools:
- Floor jack and two jack stands (minimum)
- Wheel chocks (use on rear tires)
- Safety glasses and gloves
- Hammer (2–3 lb ball-peen works best)
- Assorted socket set (metric and standard)
- Wood chisel or flat-blade screwdriver (for snap rings)
- Snap ring pliers
- Torque wrench
- New U-joint kit (Spicer or Mopar for stock; Chromesteering for heavy-duty)
You can source aftermarket U-joint options including Spicer 5-760X kits for the JL or 5-1310 series for older models.
Budget Tool List vs. Pro Shop Tools
| Method | Tools Needed | Difficulty | Cost |
|---|---|---|---|
| Hammer & Socket | Hammer, socket set, chisel | Moderate | $0–$20 (rental) |
| Ball Joint Press | Press kit (C-clamp style) | Easier | $20–$40 (rental) |
| Shop Press | Hydraulic shop press | Easiest | $50+ (shop) |
The hammer-and-socket method works fine. A ball joint press reduces the risk of damaging the yoke.
Step 1: Safely Lift and Remove the Front Wheel (Axle U-Joints Only)
Safety first. Always.
Park on a flat, paved surface. Chock both rear wheels before lifting the front. Loosen the front lug nuts by a half-turn while the tire is still on the ground. Raise the front axle with a floor jack positioned under the differential, then place jack stands under the axle tubes — never under the control arms.
Remove the lug nuts and pull the front wheel. If you’re working on the front driveshaft U-joint, skip this step entirely — you don’t need the wheel off. For axle shaft U-joints on JK models, wheel removal is just the beginning. While the wheel is off, this is also a good time to inspect your best all terrain tires for Jeep Wrangler if replacements are due.
When to Remove the Wheel Bearing (JK Model Specifics)
JK Wranglers require removing the wheel bearing hub assembly to extract the axle shaft. This step doesn’t apply to most YJ or early TJ models. Plan an extra 45–60 minutes if you’re working on a JK.
Step 2: Remove the Axle Shaft or Driveshaft
This is where JK owners need extra patience. Read through before picking up a wrench — similar to understanding the full scope before you How to Replace a Jeep Starter.
For JK front axle shaft U-joints:
- Remove the caliper (two bolts) and hang it with a wire hook — don’t let it dangle by the brake line.
- Unbolt the tie rod end from the steering knuckle using a pickle fork or ball joint separator.
- Remove the center axle nut (usually 36mm, staked in place — chisel the staking first).
- Pull the brake rotor off the hub.
- Remove the six wheel bearing hub bolts (13mm) and pull the hub assembly.
- Slide the axle shaft out toward you.
For JL/YJ/TJ front axle shaft U-joints: The process is simpler — remove the hub cap, axle nut, and pull the shaft directly without disturbing the wheel bearing in most cases.
For front driveshaft U-joints: Mark the driveshaft-to-yoke orientation with paint pen before unbolting. Remove the four bolts at the transfer case yoke and the four at the axle yoke, then slide the driveshaft out.
JK Wrangler Specifics: Removing the Tie Rod and Wheel Bearing
Don’t force the tie rod — use a proper separator tool. Hitting the tie rod stud can damage the threads. The wheel bearing hub on a JK uses six bolts torqued to 75 ft-lbs from the factory; they’re often corroded, so apply penetrating oil 10–15 minutes before attempting removal.
Step 3: Remove the Old U-Joint Clips and Caps
The snap rings (also called C-clips) hold the bearing caps in the yoke. They must come out first.
Use snap ring pliers or a wood chisel angled into the clip groove to pop the clip free. Work carefully — a broken snap ring fragment left in the yoke groove will prevent the new cap from seating. There are four clips total: remove all four before attempting cap removal.
With clips out, place a socket (slightly smaller than the cap diameter) against one cap. Place a larger socket on the opposite side to catch the ejected cap. Strike the small socket with your hammer — the cap presses through and the opposite cap drops into the catching socket. Rotate 180° and repeat for the other pair. For a visual reference on technique, check this ball joint press technique demonstration.
Pro Tip: Using a Ball Joint Press vs. Hammer
A C-clamp style ball joint press threads through the yoke and presses caps out smoothly. It reduces yoke damage risk significantly. However, the hammer-and-socket method gets the job done on most axles in good condition.
Step 4: Install the New U-Joint
Clean the yoke bores thoroughly before installing anything. Use a wire brush to remove rust, debris, and old grease from each bearing cap bore. Even minor burrs or scale can prevent proper cap seating.
Install the new U-joint in this exact sequence:
- Remove two opposite bearing caps from the new U-joint cross.
- Drop the cross into the yoke with the two open trunnions pointing through the bores.
- Press one cap onto a trunnion by hand, keeping it perfectly straight.
- Gently tap it in with a hammer and socket until the snap ring groove clears the yoke face.
- Install the snap ring immediately to hold that cap.
- Repeat for the opposite cap.
- Install the remaining two caps in the same way.
A quality Mopar U-joint kit includes pre-greased caps for OEM fitment — ideal for daily drivers or mild off-road use.
Crucial Step: Keeping Needle Bearings in the Caps
This is where most first-timers go wrong. The needle bearings inside each cap are tiny and will fall out if you tilt the cap sideways. Keep caps upright at all times. A dab of grease on the inside of the cap holds the needles in place while you maneuver the cross into position. Losing even one needle means the cap fails immediately — don’t rush this step.
Step 5: Reinstall Clips and Seat the Caps
Get the snap rings in, then go one step further.
After installing all four snap rings, tap each cap firmly inward with a hammer — toward the cross — so the cap’s inner face presses hard against the snap ring. This seats the caps. Skipping this step leaves a small gap between the cap and snap ring, which causes the cap to walk under load and fail prematurely. You’ll hear a slight change in tone when the cap is properly seated.
Why You Must Seat the Caps Against the Snap Rings
Most DIY guides skip this warning entirely. An unseated cap will destroy a brand-new U-joint within 5,000 miles. Take 30 seconds per cap to tap them firmly into position — it’s the difference between a repair that lasts and one that doesn’t.
Step 6: Reassemble Axle or Driveshaft
Reassembly is removal in reverse — but torque specs matter here.
JK front axle shaft: Slide the shaft into the differential housing carefully, aligning the splines. Reinstall the wheel bearing hub (75 ft-lbs on hub bolts). Reinstall the rotor and caliper (caliper bolts typically 18 ft-lbs). Reconnect the tie rod end and torque the nut to 55 ft-lbs, then install a new cotter pin. Reinstall the center axle nut (100 ft-lbs on most JK models) and stake it with a chisel. Don’t forget the wheel speed sensor connector — it’s easy to miss on the JK hub assembly.
Driveshaft: Align your paint pen marks before bolting. Torque the yoke U-bolts or strap bolts to 14 ft-lbs (most Wrangler driveshafts). Reinstall the front wheel and torque lug nuts to 95–100 ft-lbs in a star pattern.
Lower the Jeep off the jack stands. Do a slow driveway test before hitting the road.
FAQ: Common Jeep Wrangler U-Joint Questions
How often should I replace Jeep Wrangler U-joints?
Inspect every 12,000–15,000 miles. Replace at first sign of play, clicking, or grease leakage. Off-road Jeeps may need replacement every 30,000–50,000 miles depending on use.
Can I replace U-joints on the trail?
For driveshaft U-joints, yes — with basic hand tools and a spare U-joint. Axle shaft U-joints on a JK require too many components removed to be practical trailside.
Do I need a ball joint press?
No. The hammer-and-socket method works. A press makes the job easier and reduces yoke damage risk, but it isn’t required for a successful replacement.
What brand of U-joint is best for off-roading?
Spicer (Dana) and Mopar are solid OEM-equivalent choices. For heavy off-road use — rock crawling, extreme articulation — upgrade to Chromesteering or Yukon Gear heavy-duty U-joints. Check the JeepForum U-joint discussion for real-world owner feedback on brands by model year.
How do I know if it’s the U-joint or the ball joint?
Ball joint failure causes vague steering, wandering, and clunking over bumps — not tied to vehicle speed. U-joint failure causes clicking in turns or vibration at specific speeds. If you’re troubleshooting other issues simultaneously, the 2012 Jeep Wrangler Misfire guide covers separating drivetrain noise from engine symptoms.
Conclusion: Next Steps for Your Jeep
You’ve done the hard part. Take a slow test drive around the block first — listen for any remaining clicking or vibration before getting on the highway. If symptoms persist, double-check that all four caps are properly seated against their snap rings.
Once the drivetrain feels solid, consider the full picture for your off-road build. Upgrading to the Best Jeep Wrangler Lift Kits adds suspension travel that puts more demand on U-joints — heavy-duty joints are worth the extra cost if you lift more than 3 inches. Pair that with quality Best Jeep Wrangler Shocks Reviews to restore ride quality after the lift. For long-term ownership peace of mind, Are the Jeep Wranglers Reliable breaks down what to expect with regular maintenance.
For most Wrangler owners: replace with Spicer U-joints, torque everything to spec, and seat those caps. That’s the job done right.